Building a DIY Jonsbo NAS
I’ve steadily been extracting the last life from my current NAS setup. I run two 2-bay NASes which contain my personal files, media server content and container backups. The two machines (Asustor AS1102T and Synology DS216J) were both bought second hand from eBay for under £100 each and have served me very well. But I am now close to running out of space and getting conscious that one may go kaput soon! So it has reached the time to upgrade to a larger 4 drive setup.
After comparing various turnkey options - UGreen DXP4800 Plus, Asustor Drivestor AS3304T Gen2, Synology DS925+ it’s clear how expensive they are for the hardware you get. I thought I’d try my hand at my first PC build with the aim of saving myself a chunk of money and learning something new in the process! TrueNAS Scale would be the OS of choice. UNRAID was another option but I wanted to avoid forking out for a licence right away.
Specifications
| Part | Where | Price |
|---|---|---|
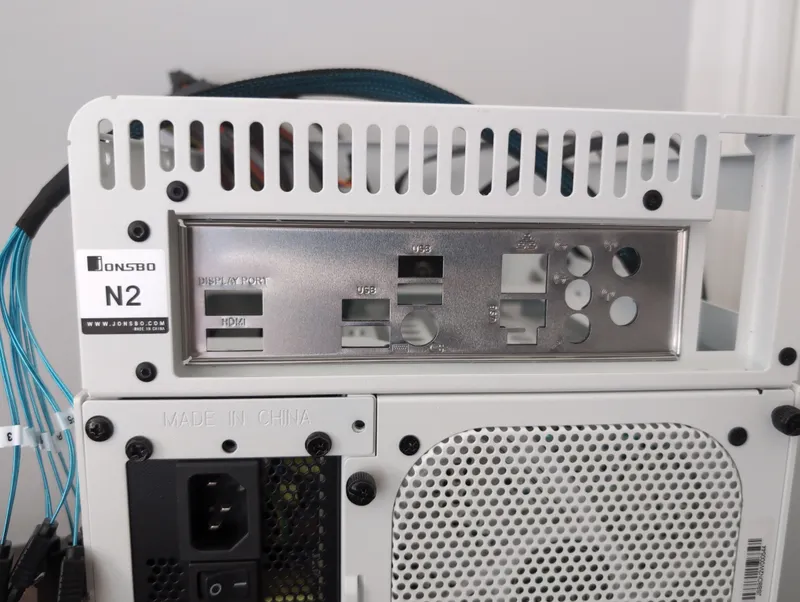
| Jonsbo N2 Case | Ebay | £94.99 |
AsRock AMD A520M AM4 ITX/AC Motherboard
| Scan | £93.98 |
| AMD Ryzen 3 3100 | Ebay | £29.61 |
| Patriot P320 256GB Internal SSD NVMe | Amazon | £19.99 |
| Timetec Hynix IC 16GB DDR4 2400MHz Unbuffered ECC RAM | Amazon | £59.99 |
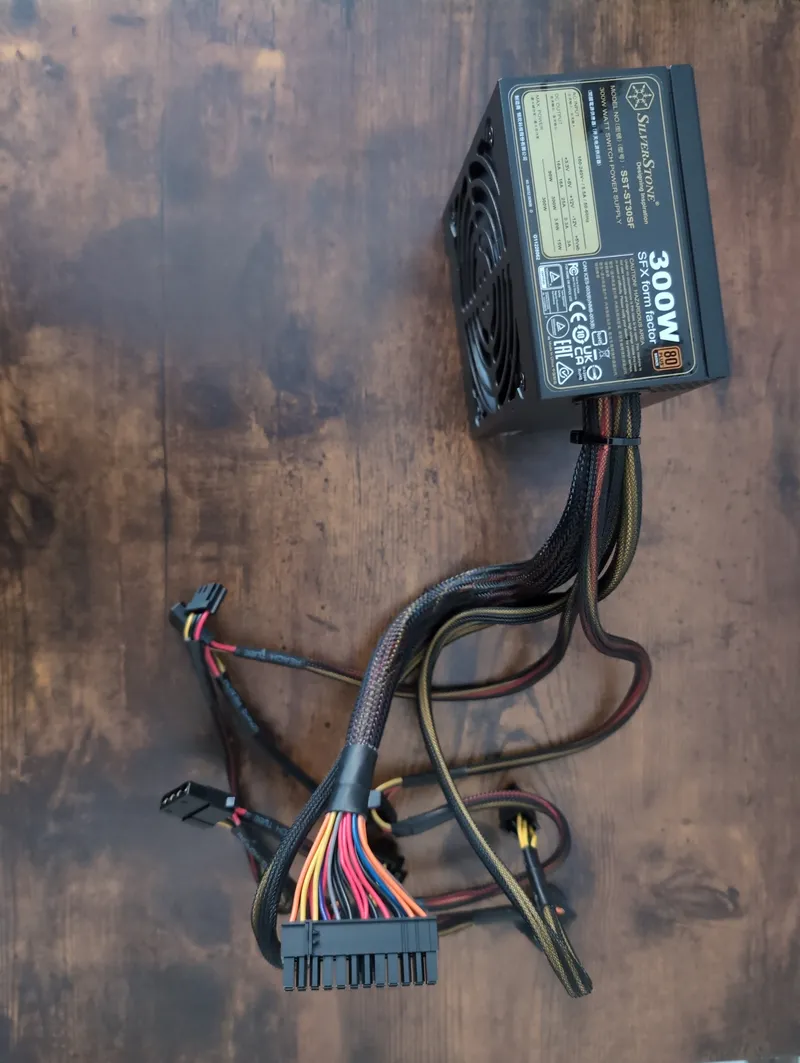
| Silverstone ST30SF 300W SFX PSU | Scan | £49.99 |
| SATA-III 6Gbps Cable 6 Pack | Amazon | £11.59 |
| 4 x Toshiba N300 4TB NAS Hard Drive | Amazon | £89.99 each |
| MSI GeForce GT 710 Graphics Card (for installation only) | — | Already owned |
Price breakdown
- Costs for the unit: £360.14
- Hard drive costs: £359.96
- Total: £720.10
Considerations
I wanted to keep the price as low as I could, and considering I’m using it for file storage only (my services run on a separate Proxmox Cluster so there’s no need for it to run containers) I figured this would be possible as I don’t need much fire power.
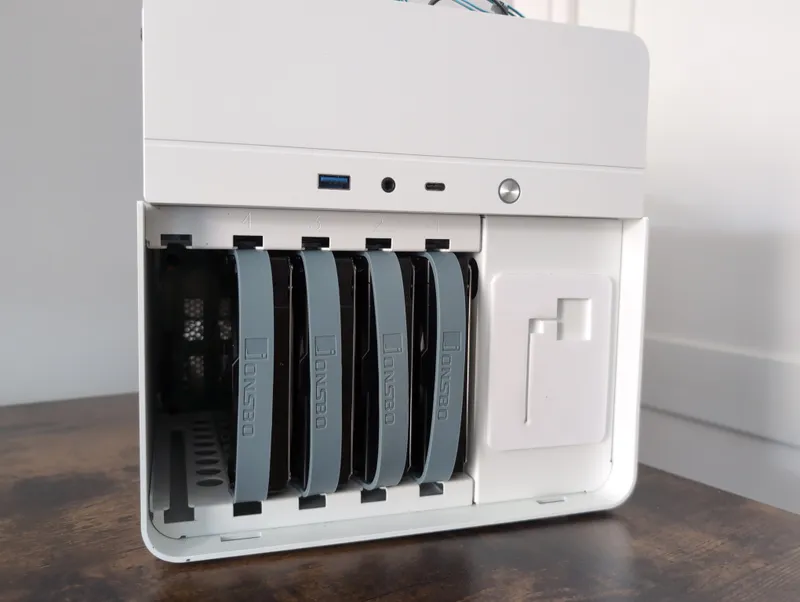
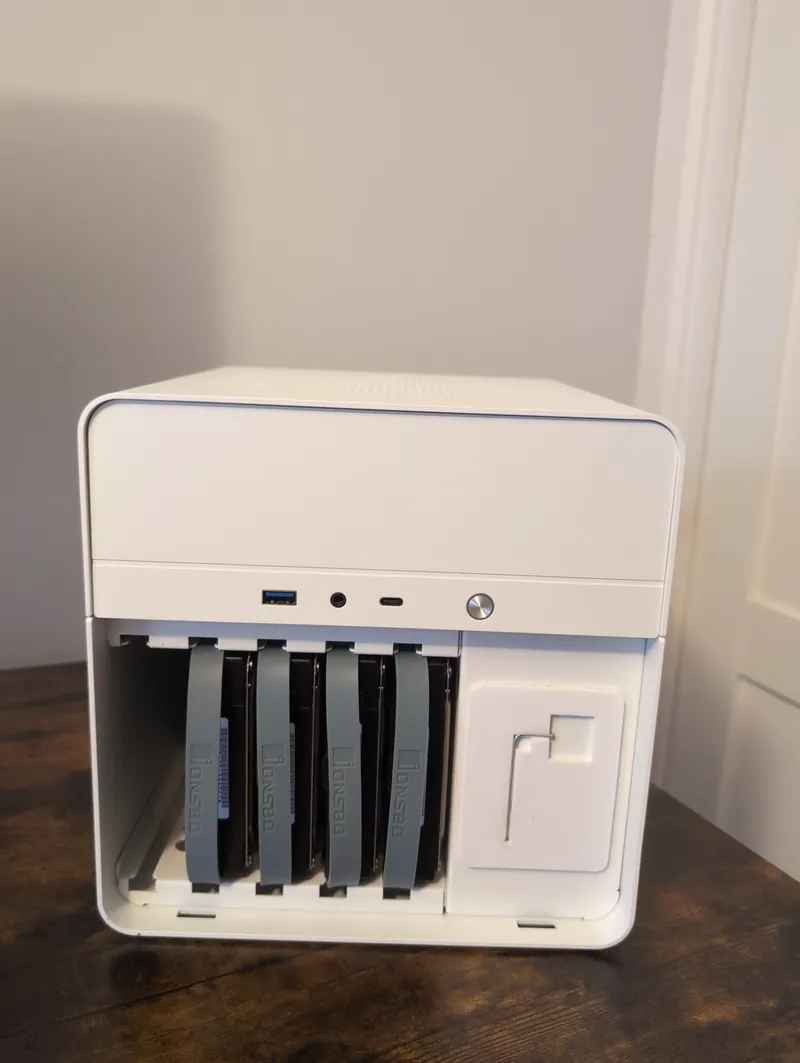
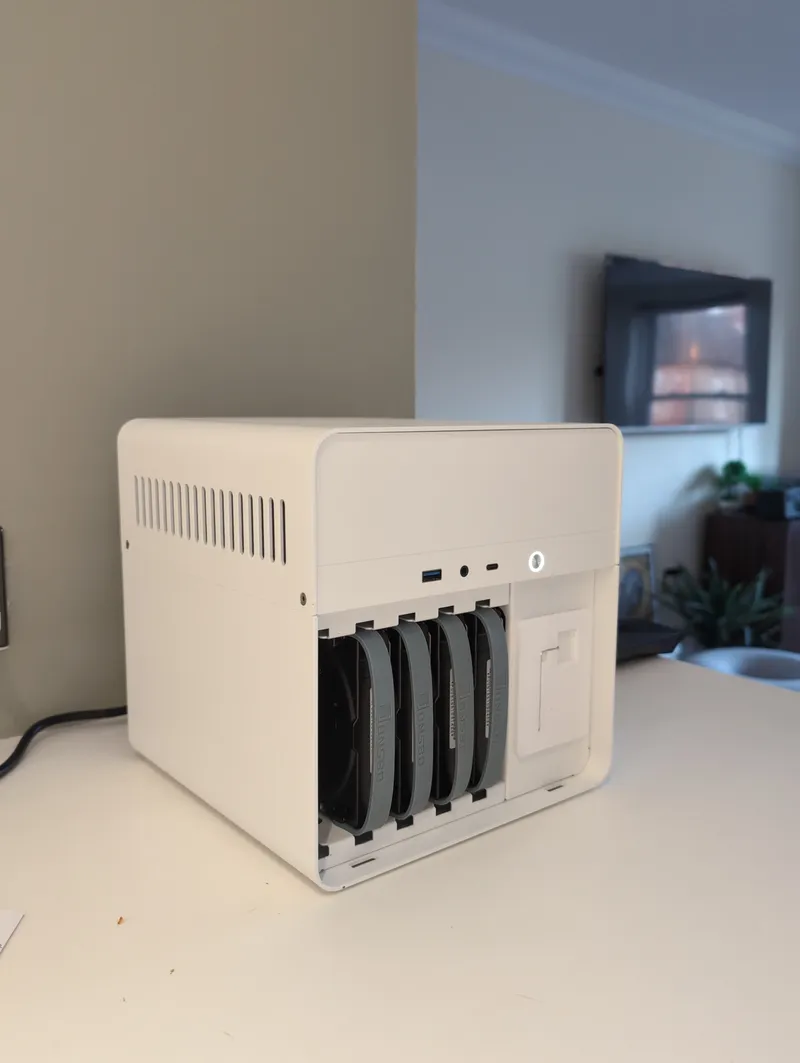
I settled on the Jonsbo N2 as it’s compact and supports up to 5 x 3.5” drives which are hot swappable and 2 x 2.5” drives. The cheapest ITX motherboard I could find was the ASrock A520m ITX: It had the minimum requirement of 4 SATA ports, and could support ECC.
I counted ECC as essential for this build, as this NAS is going to be storing personal documents and files, my music collection, photo collection, etc and I don’t want to risk any corruption or issues caused by single-bit errors. Finding clarification on ECC support online was difficult but as stated in the motherboard specification, as long as you use a Pro-series APU or a regular GPU (without integrated graphics) from AMD’s Vermeer or Matisse you will be covered. AMD Ryzen 3 3100 is in the Matisse series, and available used on eBay for £30. With 4 cores and 3.6 GHz base clock speed it would be more than powerful enough for a file server so I opted for that.
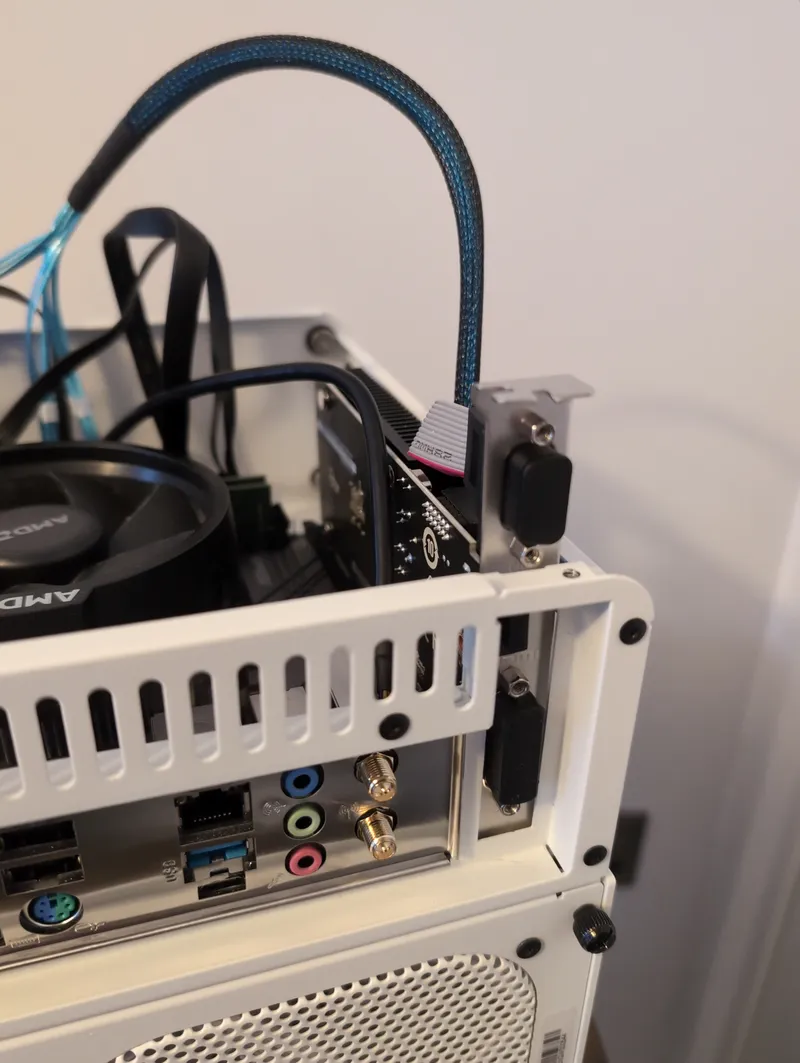
For operating the NAS day-to-day there’s no need for a graphics card, I’ll only need one for the OS installation itself.
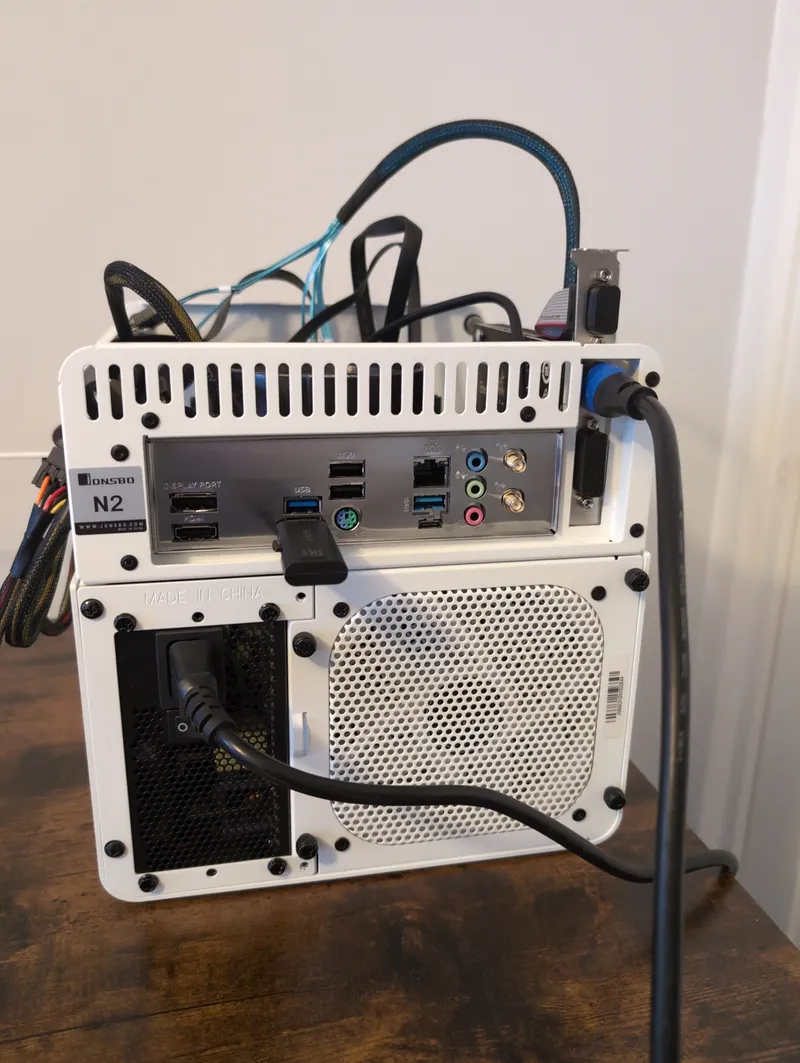
One negative for the AsRock motherboard is that it only has a 1Gbps LAN port which lags behind all of the prebuilt NAS alternatives. The rest of my homelab only supports gigabit LAN at the moment so I can live with that. There is always the option to add a 2.5Gbps+ network card to the PCIe slot in the future.
Build (in pictures)
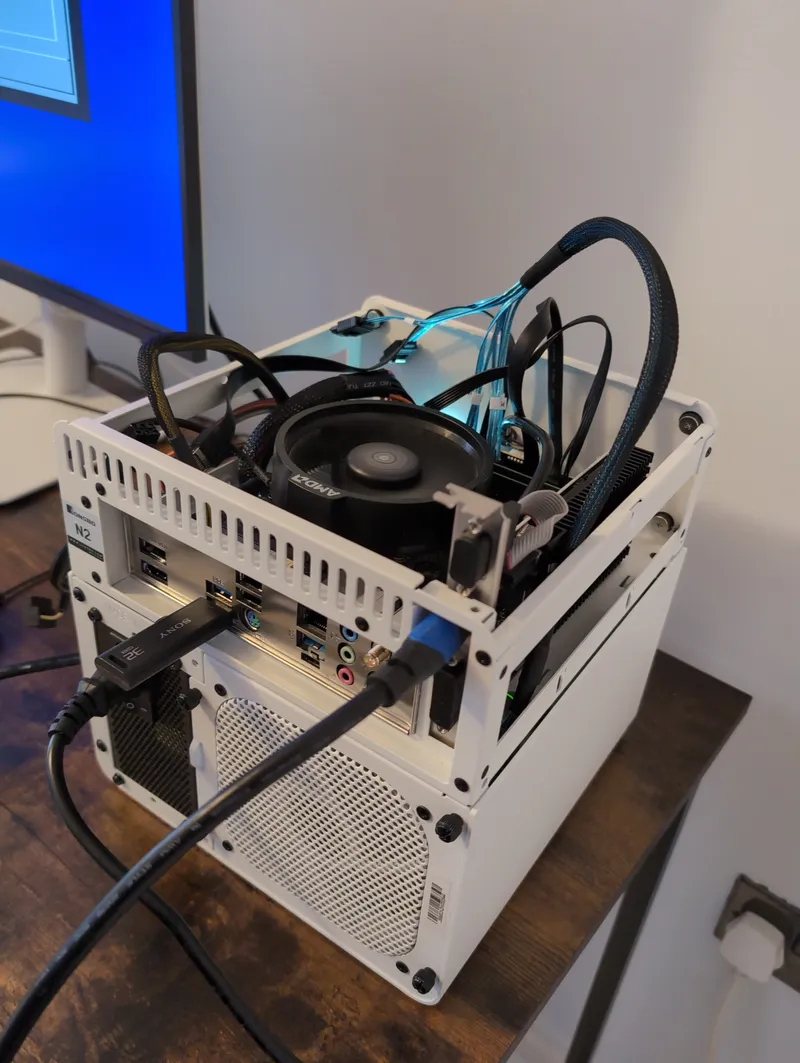
Start with the PSU. Identify motherboard connectors and molex connectors for hard drive backplane
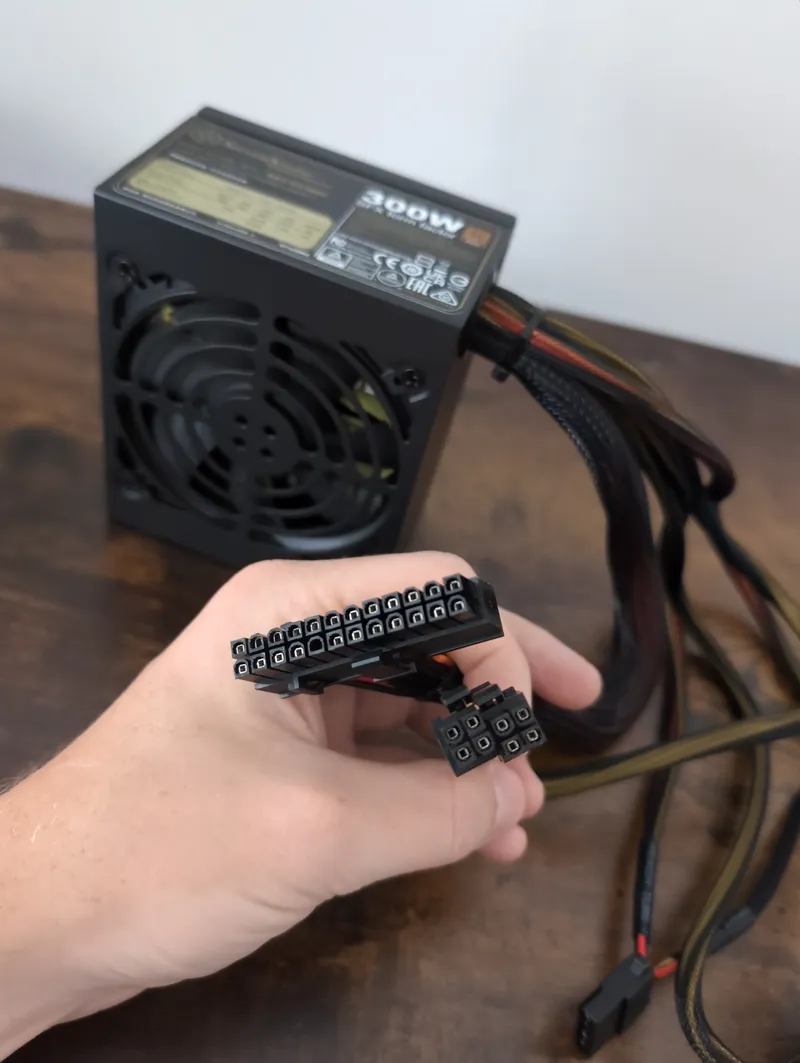
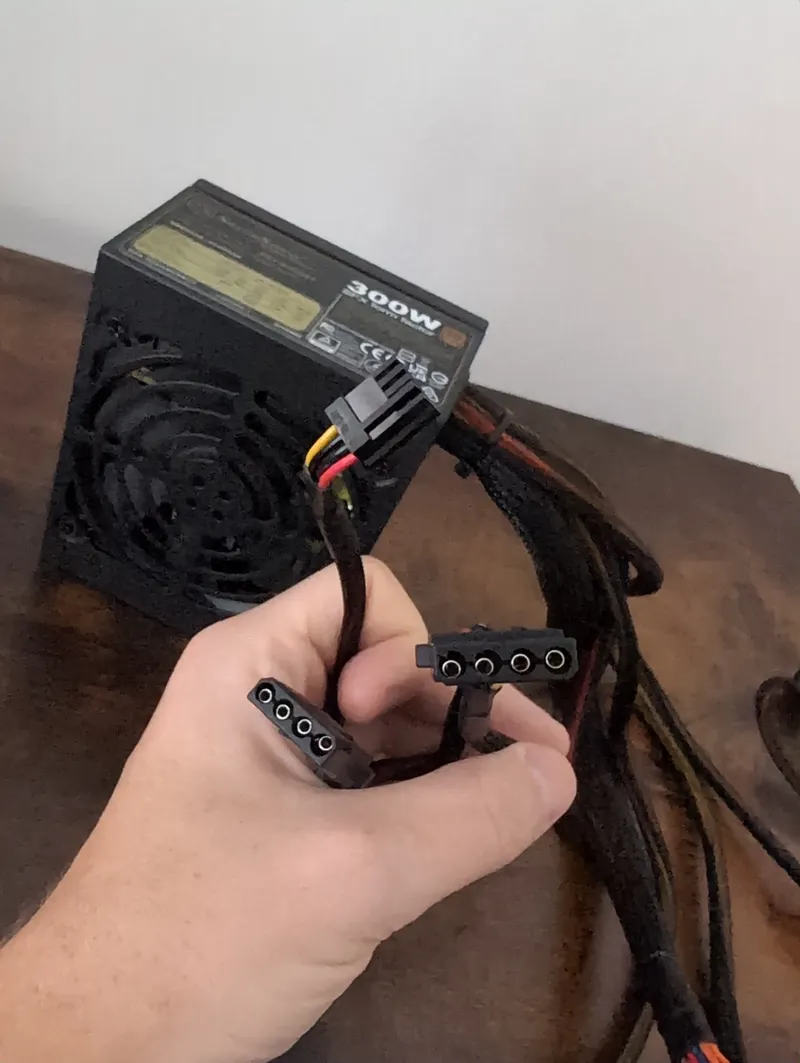
Connect power cable and SATA cable
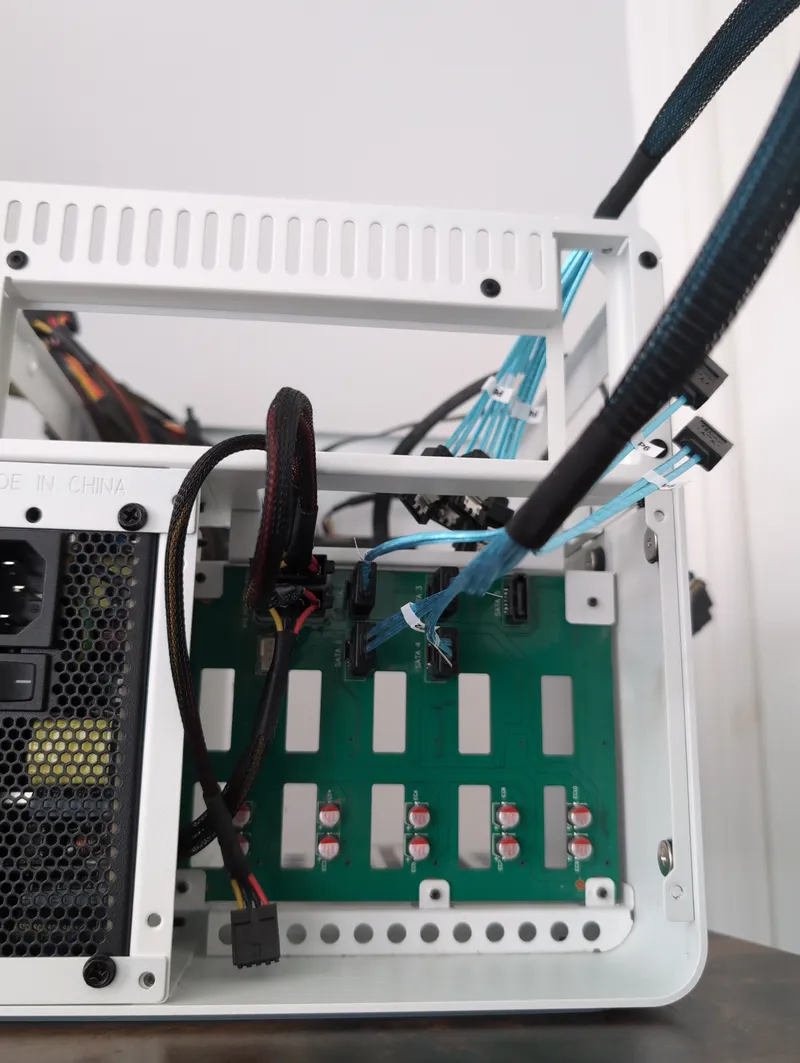
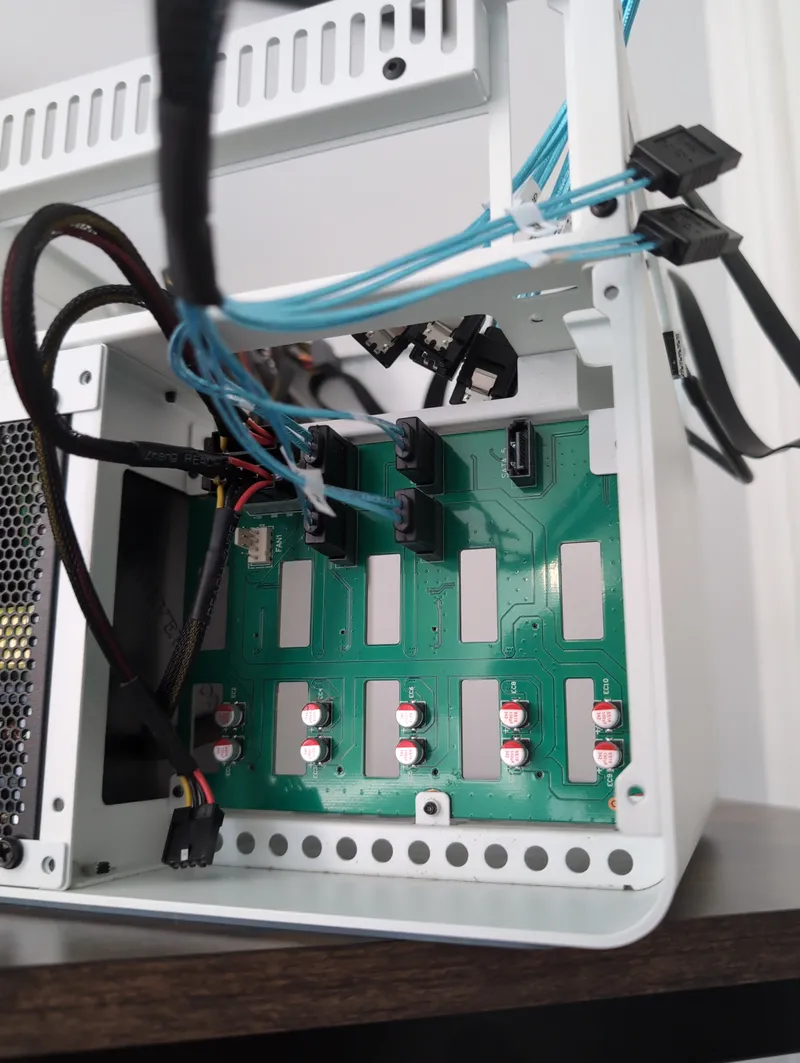
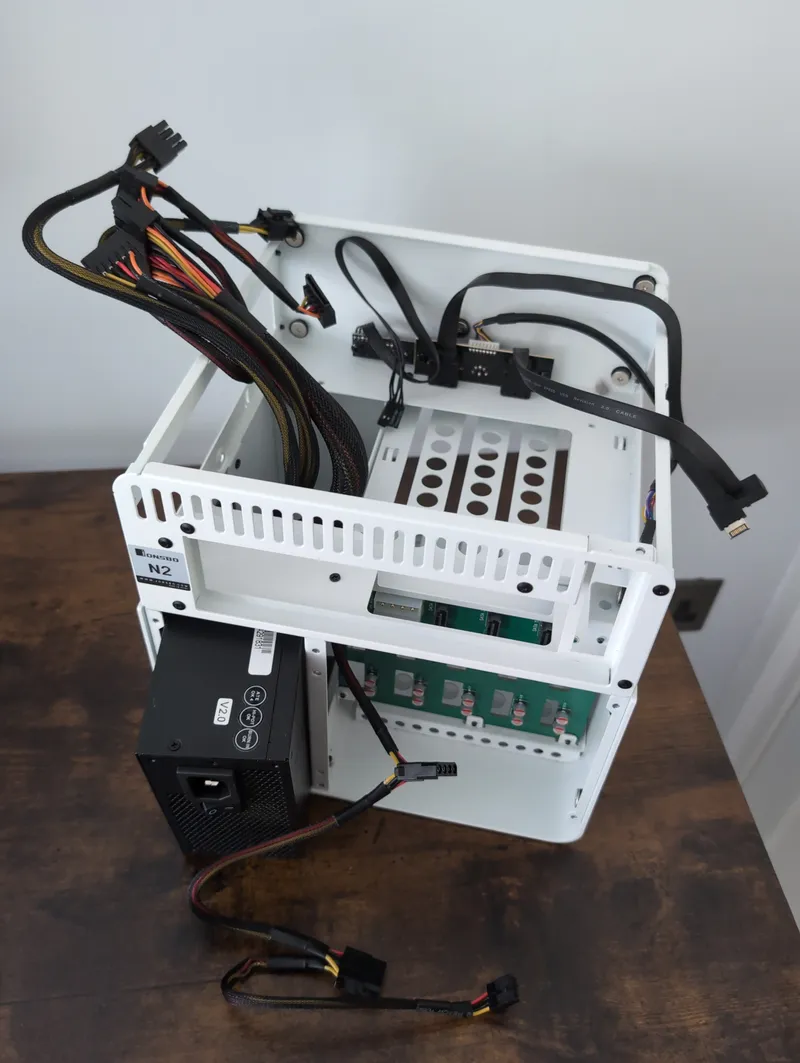
Move on to motherboard and backplane
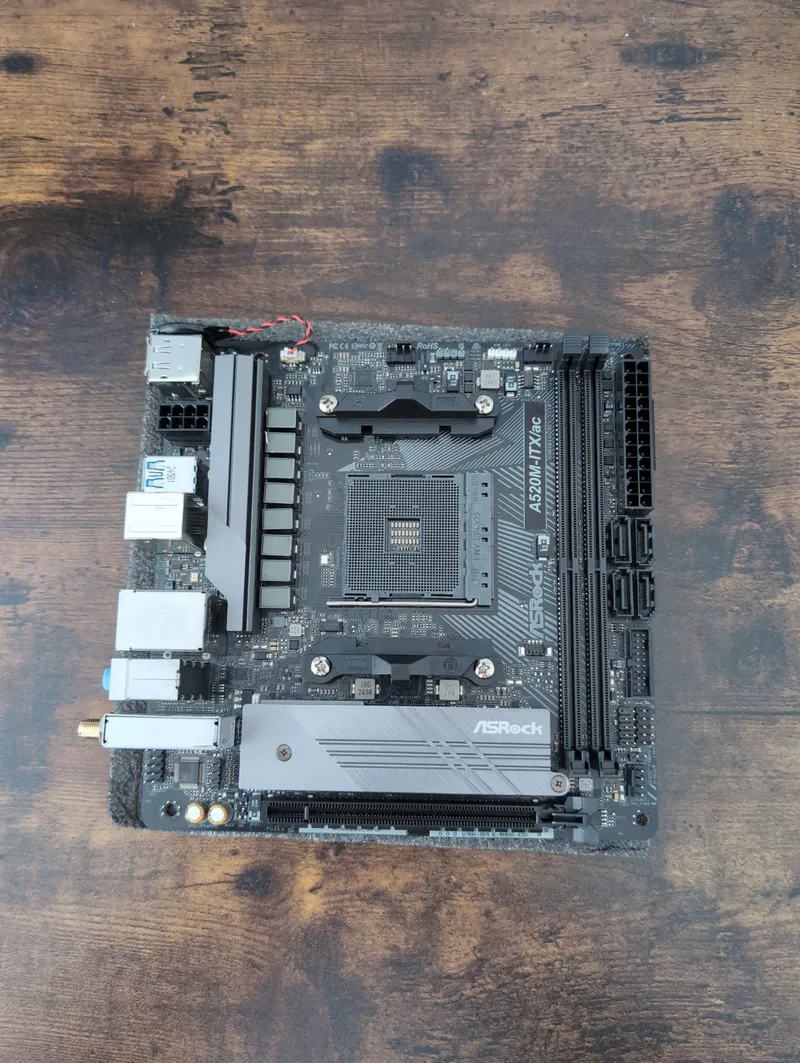
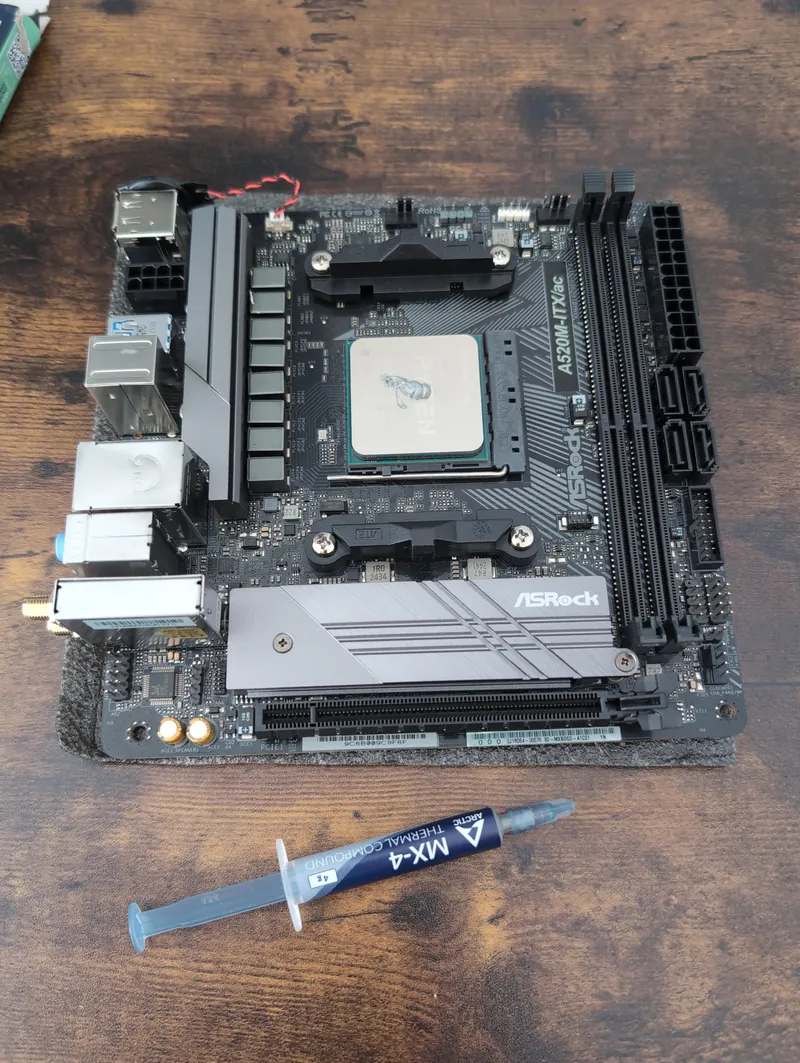
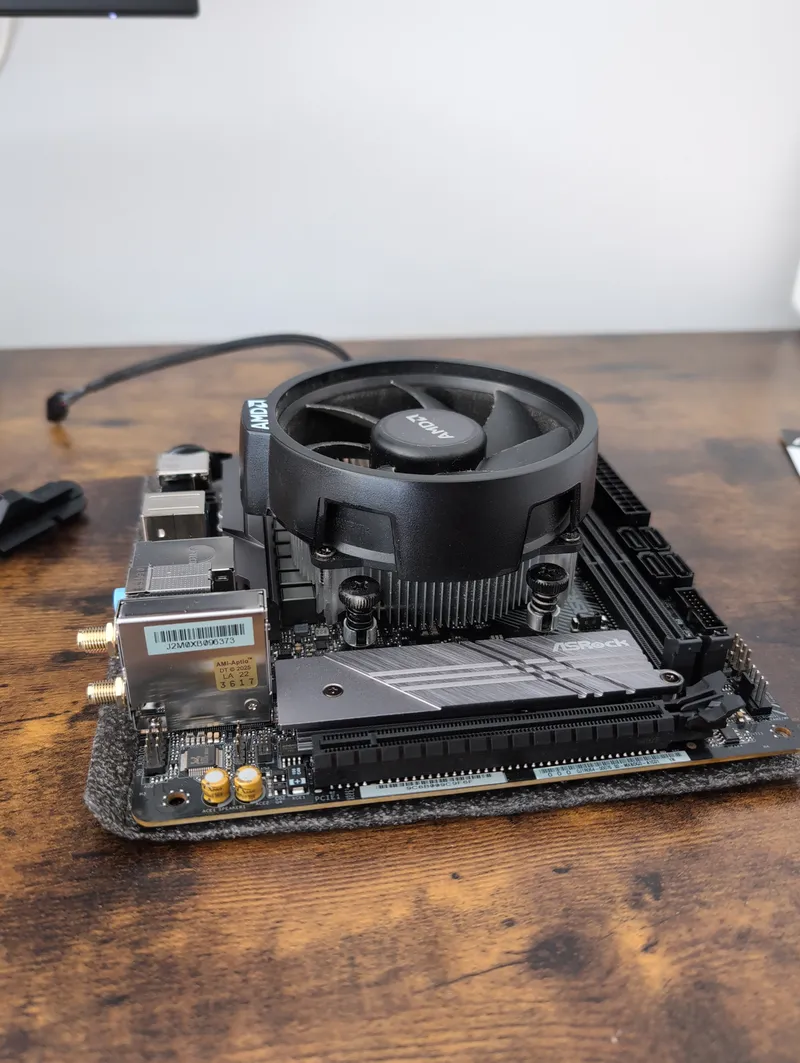
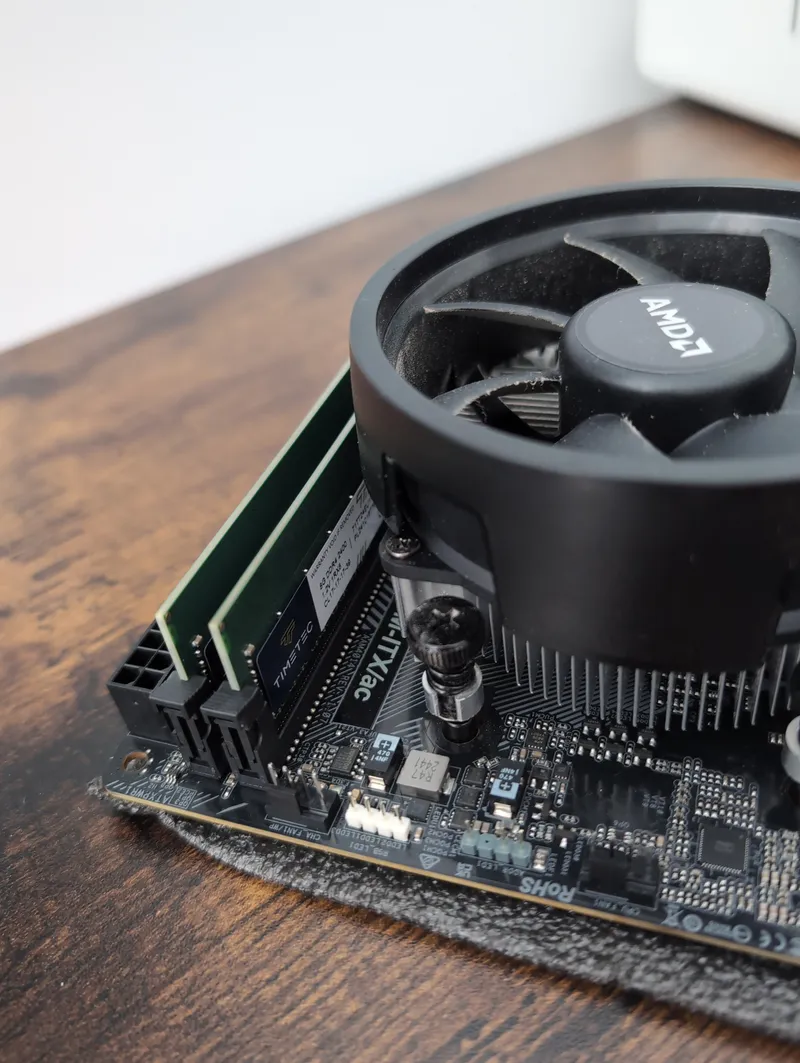
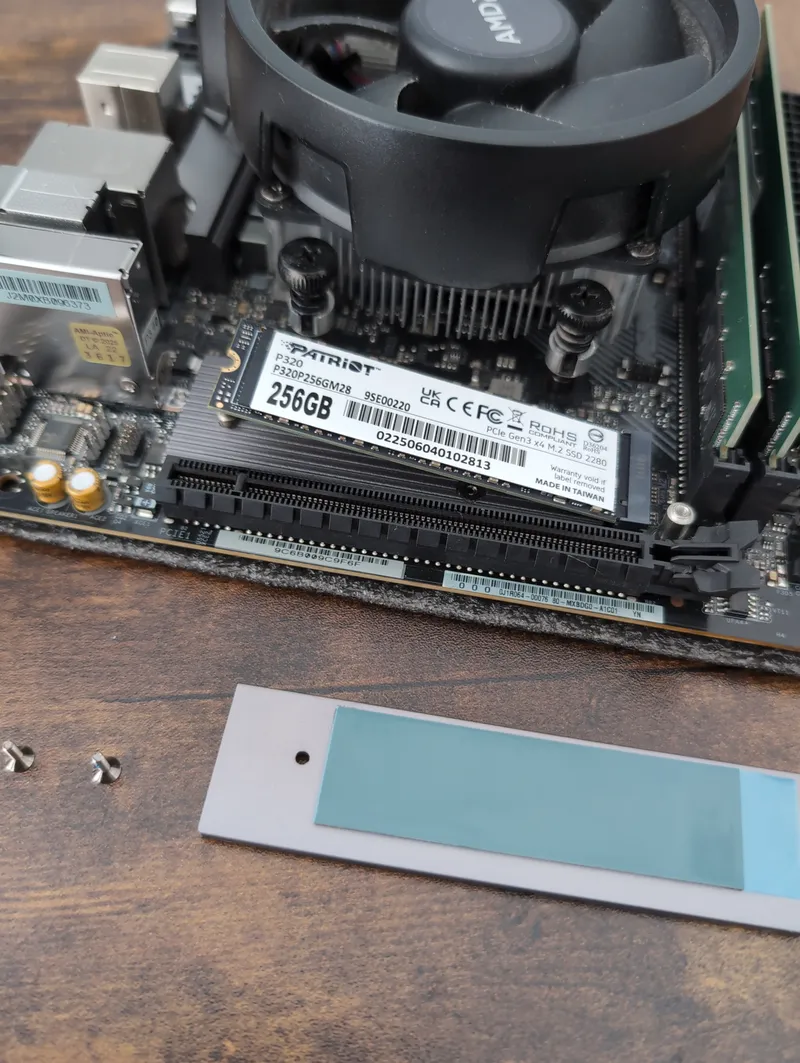
Install CPU, CPU fan, RAM and SSD
Mount and screw into the case
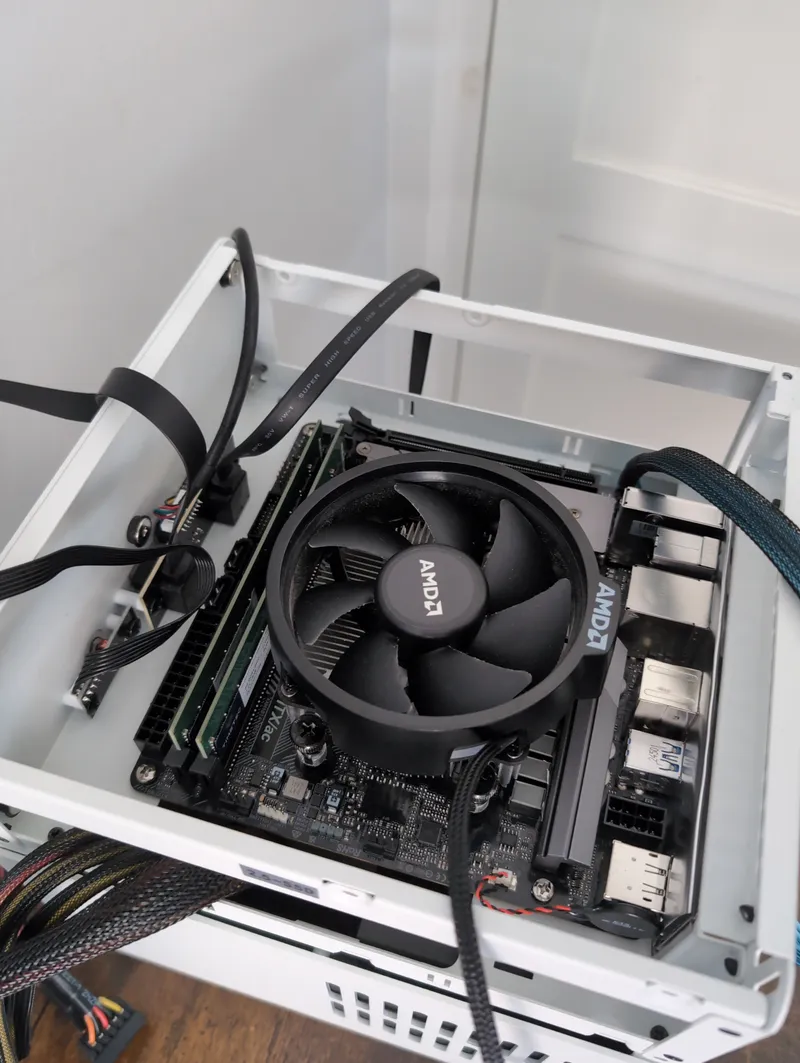
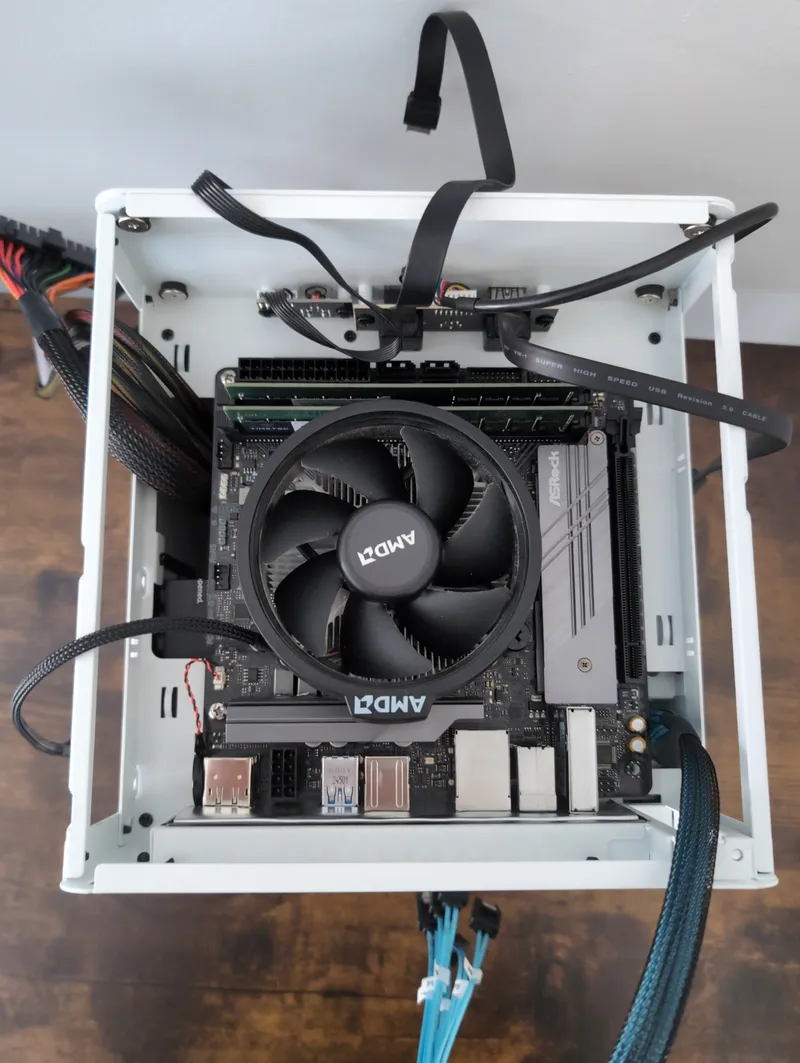
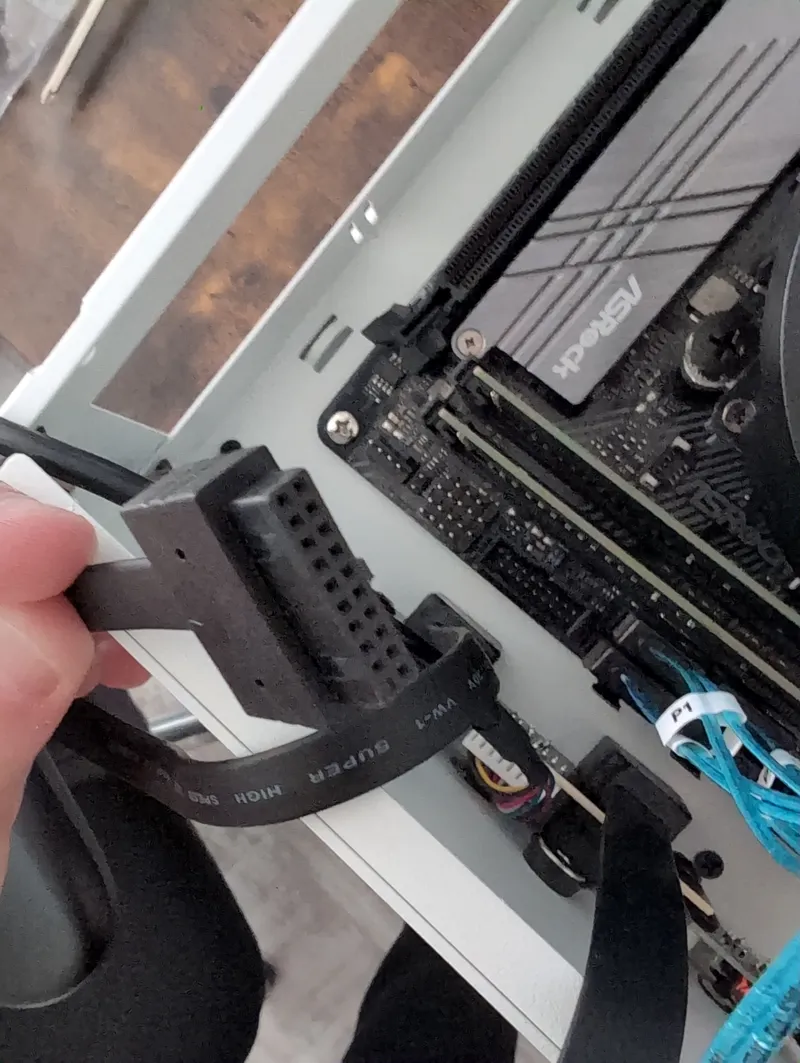
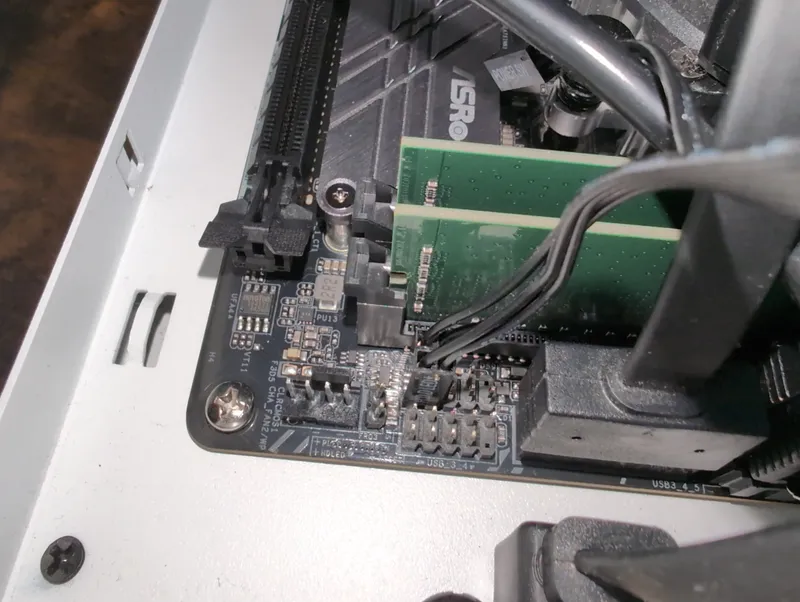
Connect power cables and SATA cables to motherboard
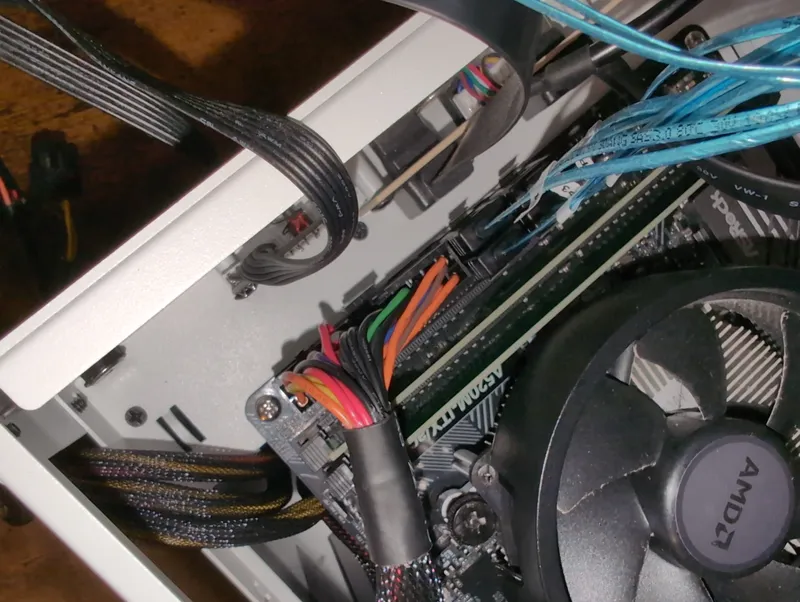
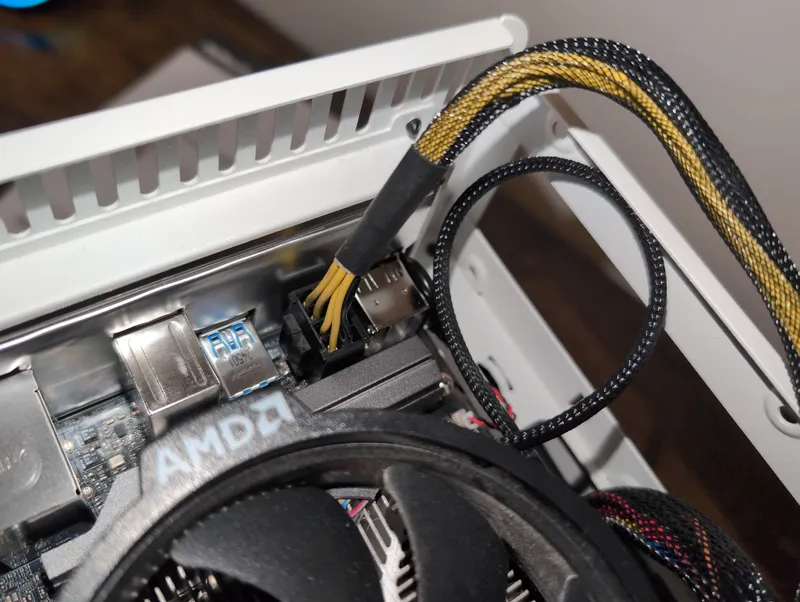
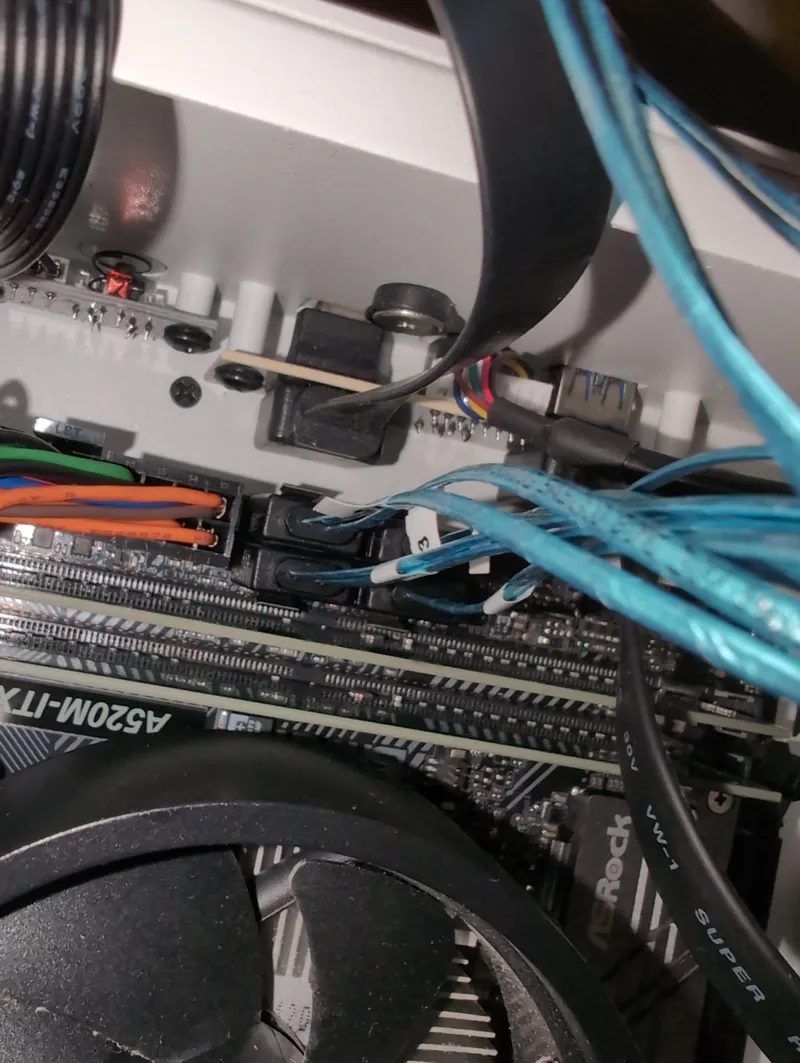
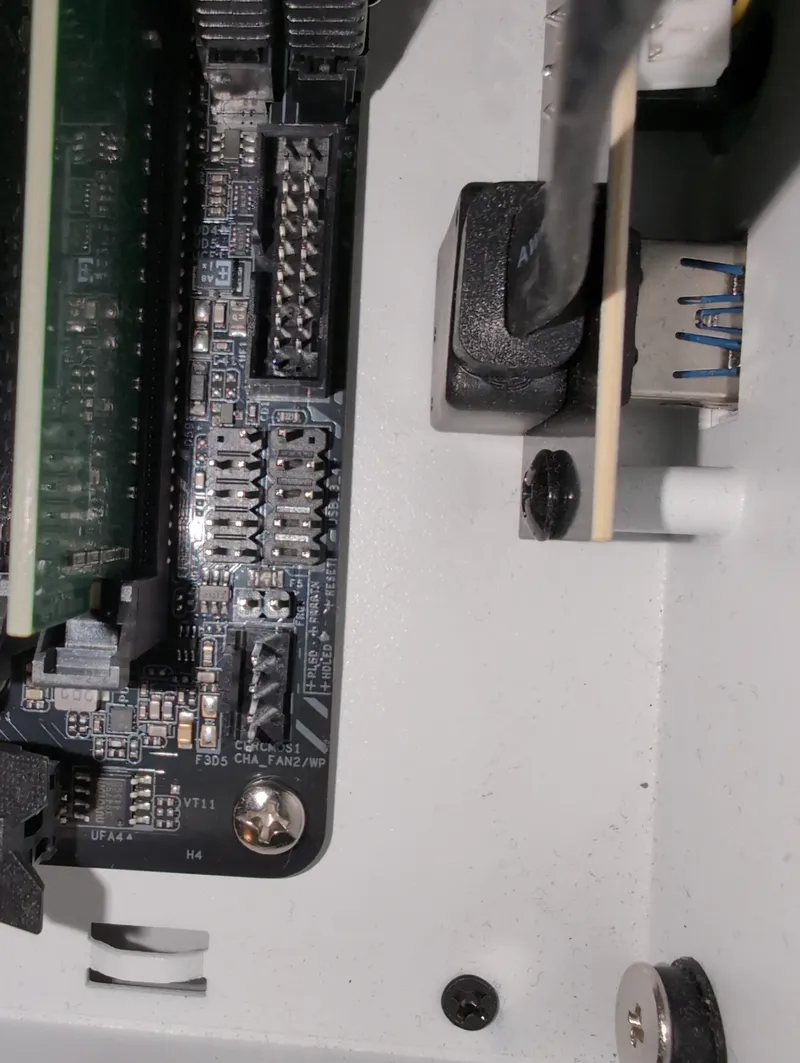
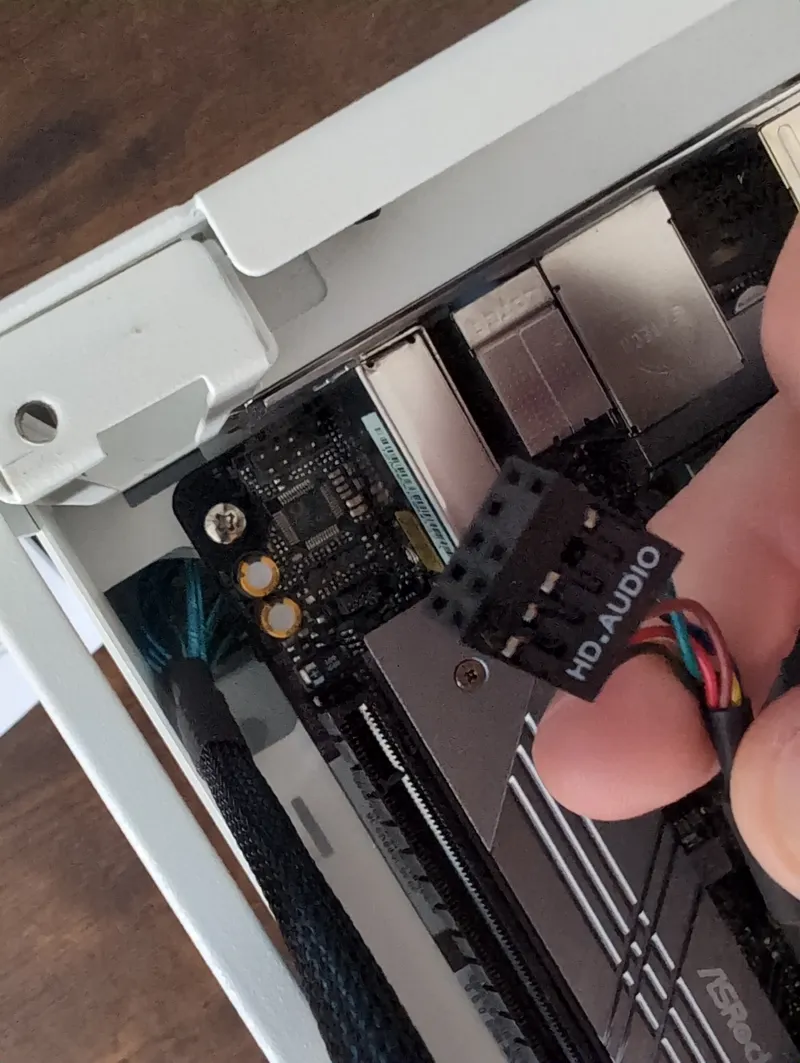
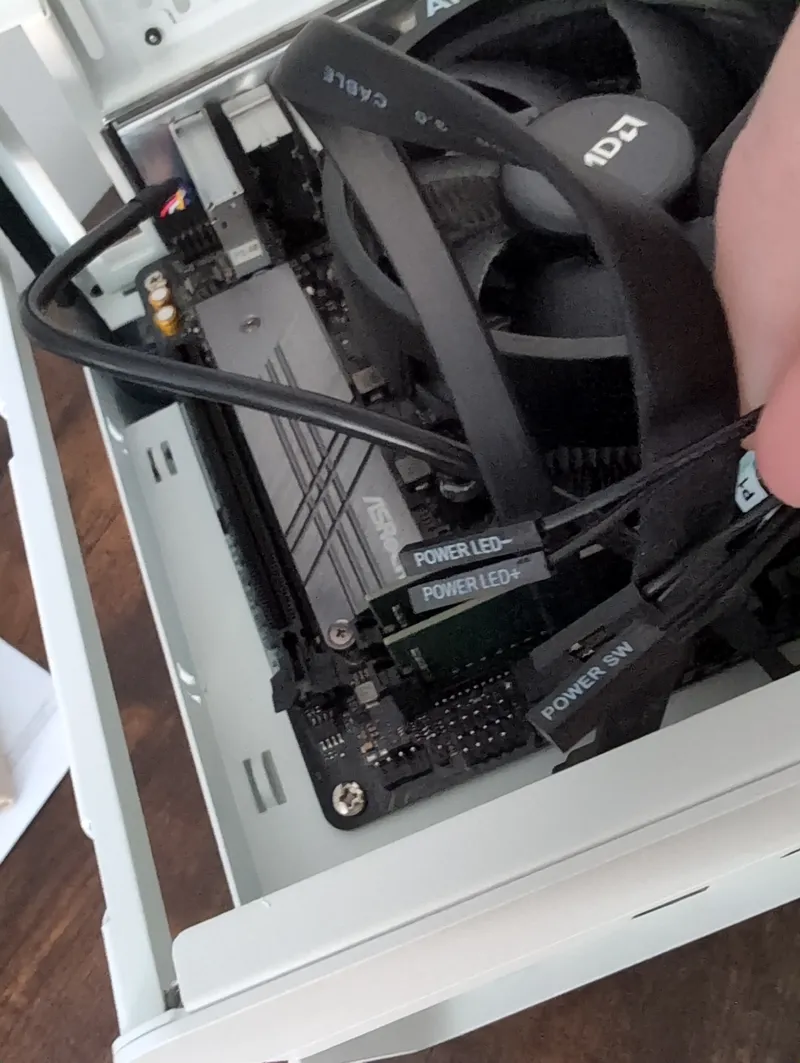
Install Jonsbo N2 front panel connectors for USB, audio, power button, LEDs. The Jonsbo case connectors were clear to locate and straight forward to plug in. Note: the POWER SW connector has an arrow ⏵ to indicate the positive wire.

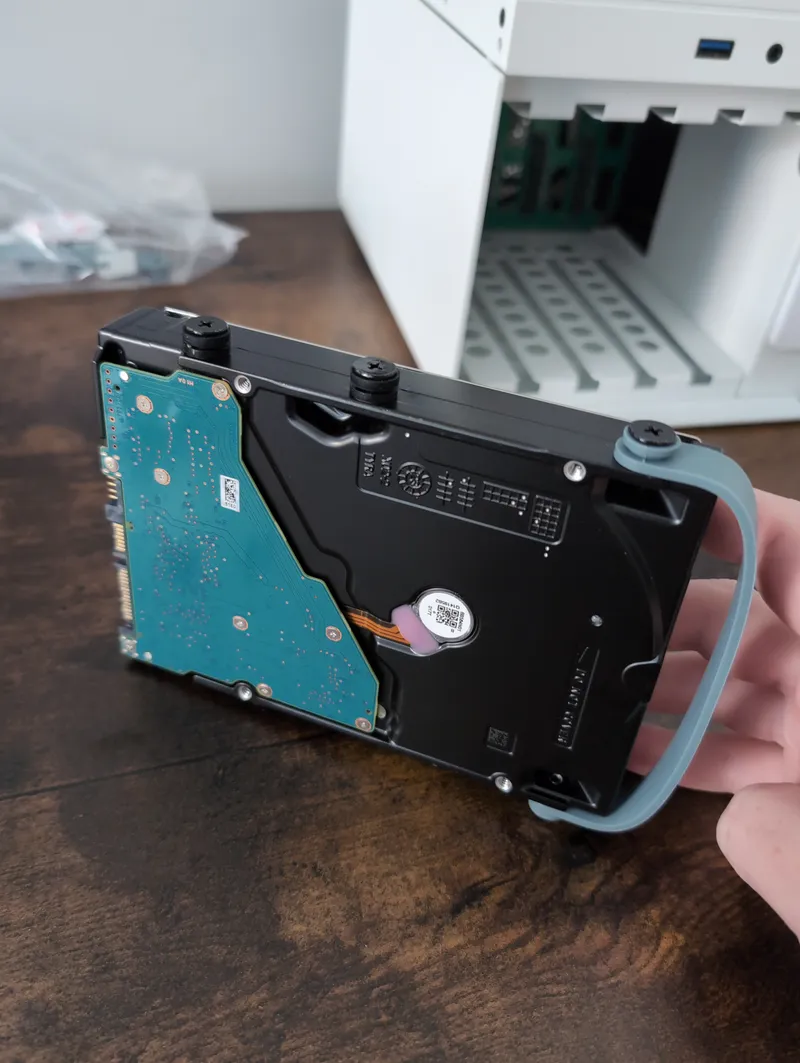
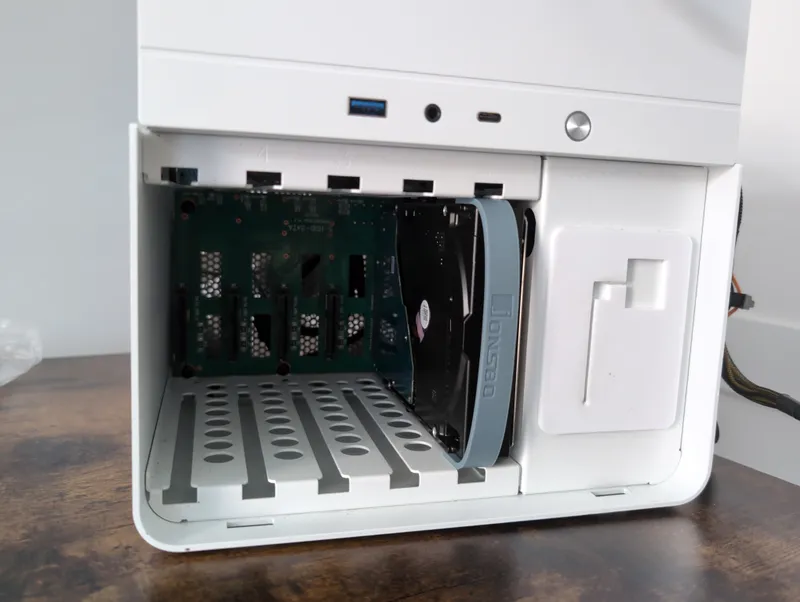
Install HDDs
Even though TrueNAS can be fully accessed via the web UI, for installation I needed to plug in a monitor. As I went for a CPU without integrated graphics (due to ECC ram compatitblity), I plugged in a basic GPU I had at home just for the installation. I grabbed the ISO from Download TrueNAS Community Edition and used balenaEtcher to quickly create the USB boot drive.
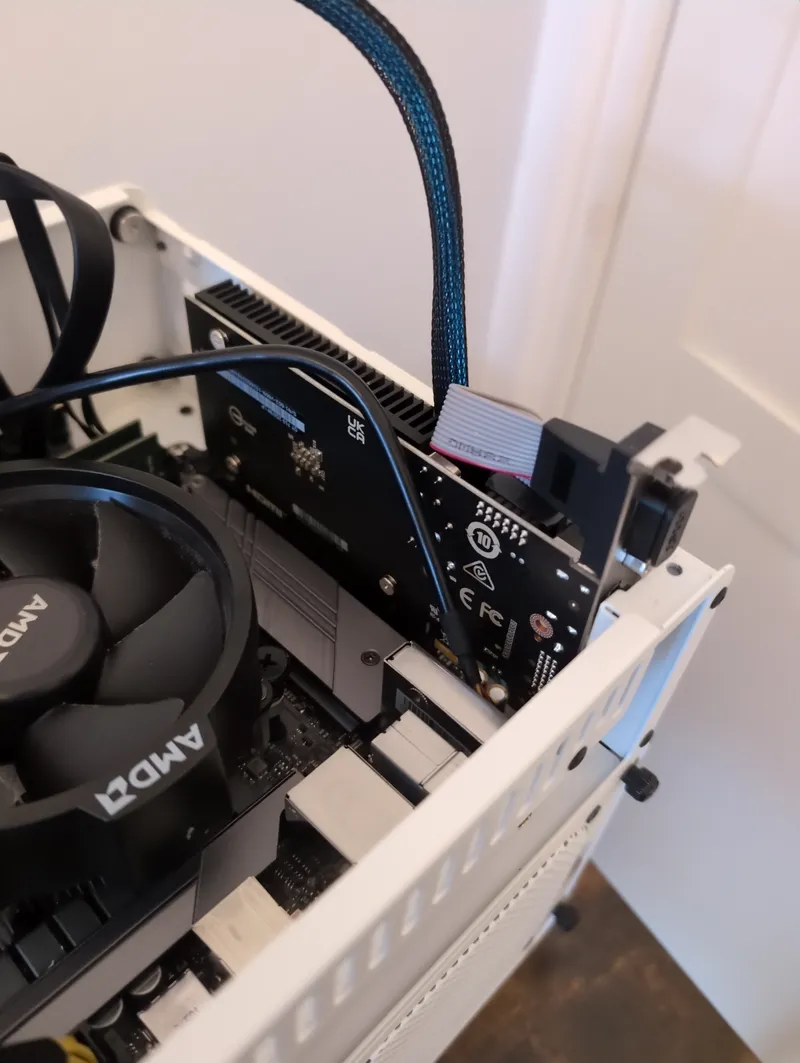
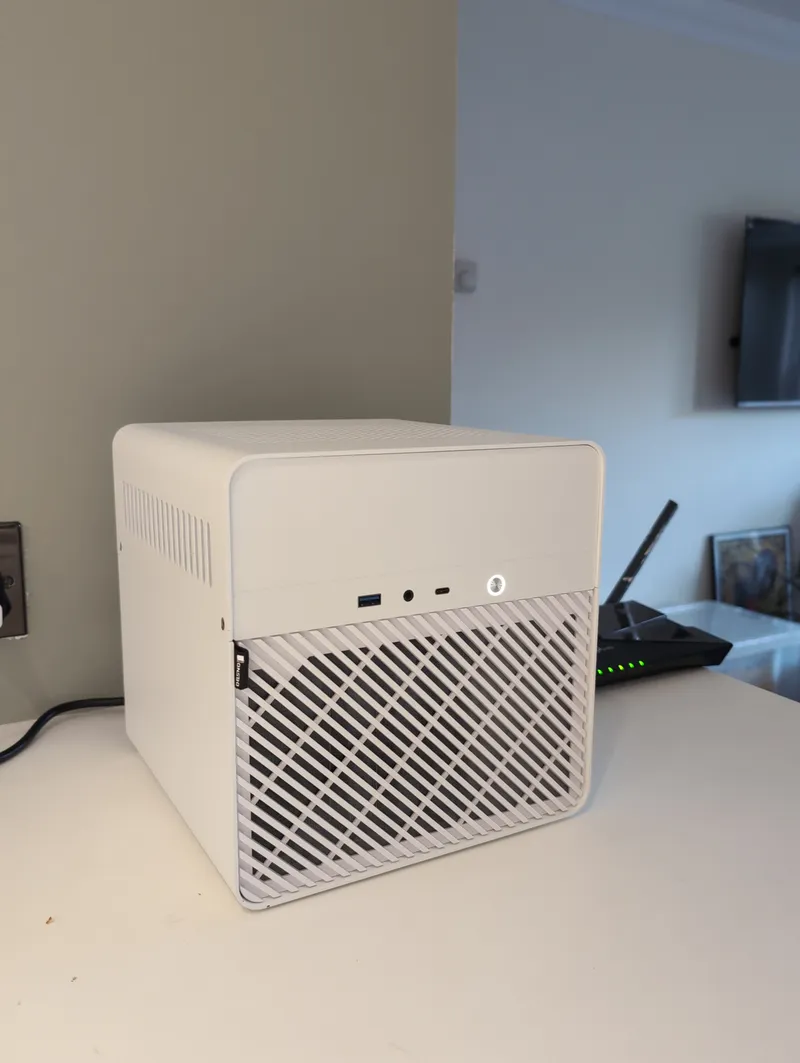
Remove GPU and fit the top panel back on
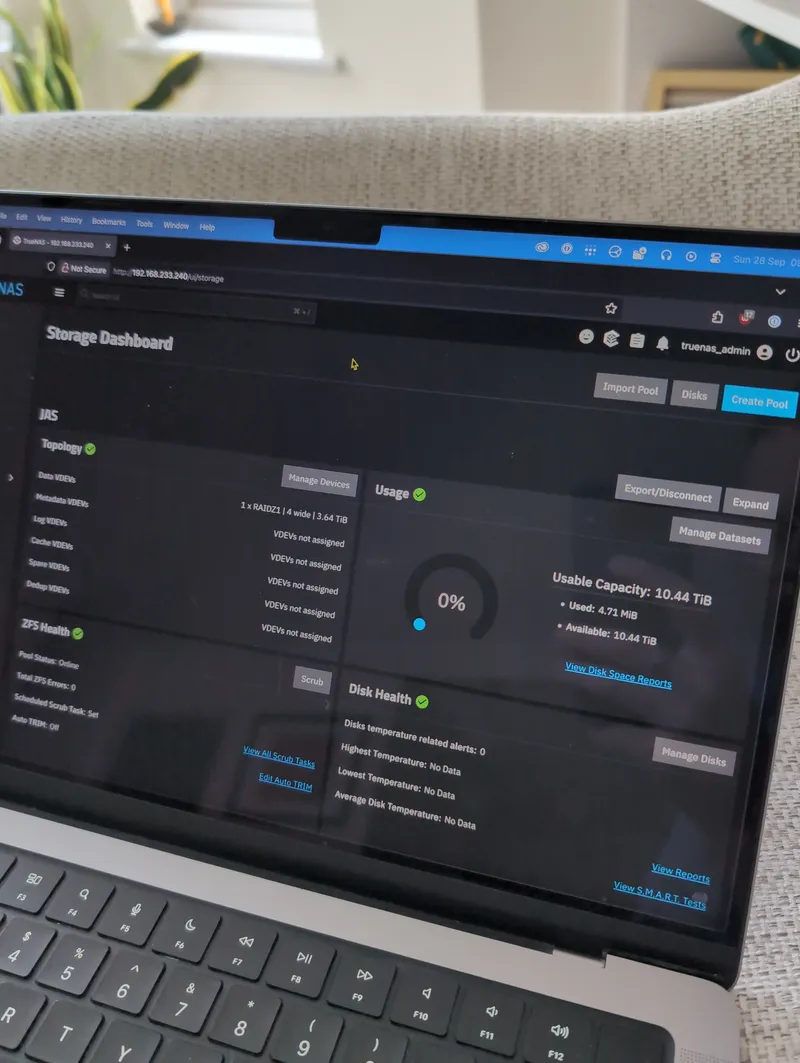
Running RAIDZ1 I get 10.44 TiB (or 11.47 TB) of usable space.
Thoughts after running for a week
TrueNAS installed on the first attempt and was straightforward to get set up!
The TrueNAS Getting started documentation is excellent.
I was able to create a Dataset and share it over Samba to 3 different users: an admin user who would be the owner user, then a read-only user and a read-write user for applications running on different VMs. Setting permissions was straightforward through Dataset > Permissions > Edit ACL (though some knowledge of Unix user permissions wouldn’t go amiss…).
I set up a weekly scrub task on my pool and monthly long S.M.A.R.T tests on the discs (maybe fortnightly is a good idea?). I also enabled email notifications for these tests and general system alerts via Proton Mail which was a nice touch.
I was able to get the full 124-125MB/s transfer speed from the 1 Gbps LAN Port when I mounted this machine to my existing Asustor AS1102T over Samba so no issues there.
I was also able to confirm that ECC is working by running dmesg | grep -i edac in the Shell tab of the web UI. It shows the EDAC driver (Error Detection And Correction) has loaded and the memory is recognised. There’s a label on the TrueNAS dashboard to show ECC is enabled too.
$ sudo dmesg | grep -i edac
[    0.299058] EDAC MC: Ver: 3.0.0
[   22.702411] EDAC MC0: Giving out device to module amd64_edac controller F17h_M70h: DEV 0000:00:18.3 (INTERRUPT)
[   22.702416] EDAC amd64: F17h_M70h detected (node 0).
[   22.702418] EDAC MC: UMC0 chip selects:
[   22.702420] EDAC amd64: MC: 0:  8192MB 1:     0MB
[   22.702422] EDAC amd64: MC: 2:     0MB 3:     0MB
[   22.702424] EDAC MC: UMC1 chip selects:
[   22.702425] EDAC amd64: MC: 0:  8192MB 1:     0MB
[   22.702427] EDAC amd64: MC: 2:     0MB 3:     0MB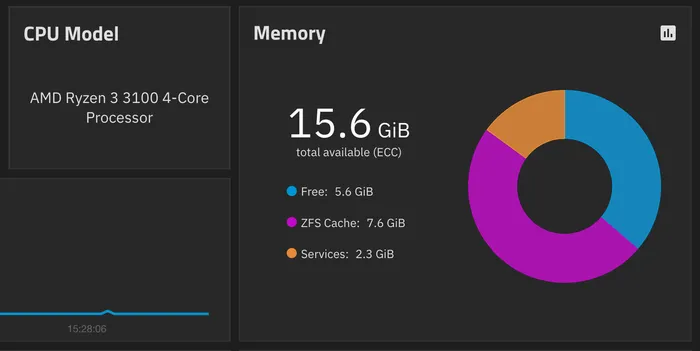
Finally, the Jonsbo case fan is pretty loud!! 😱
From a quick read, the Noctura 25mm fans are a good choice and can be picked up for about £15 so I do plan to replace it in the near-future 😅.